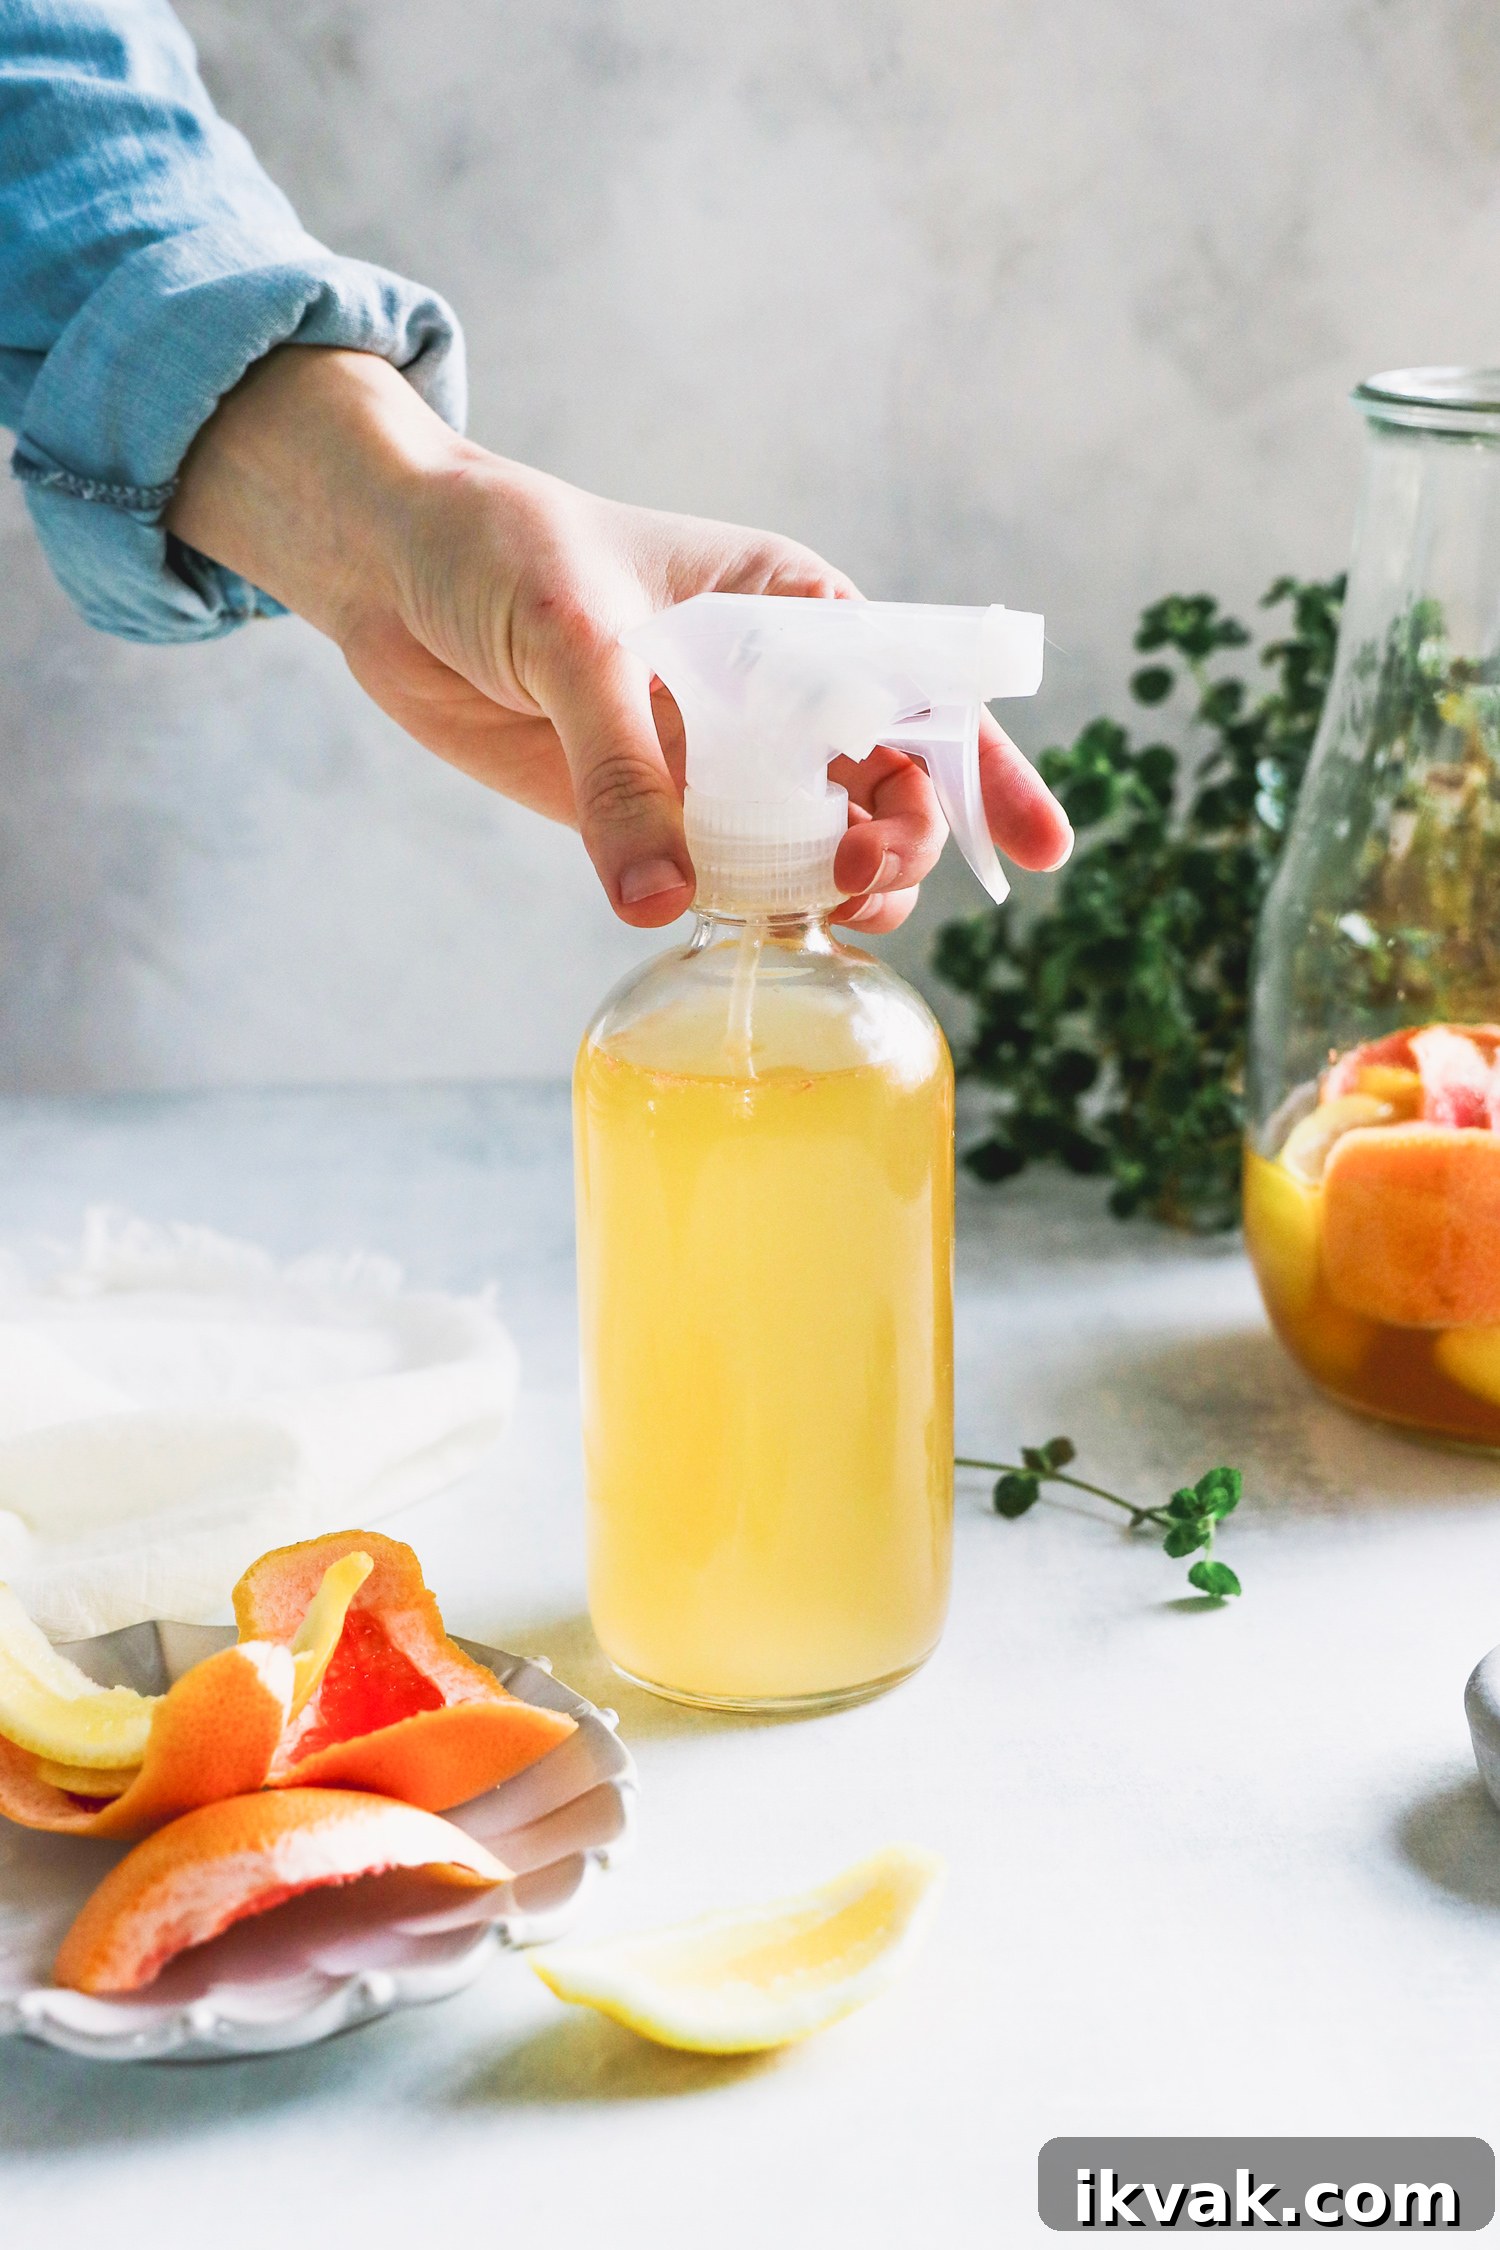
I enjoy repurposing kitchen scraps, and this DIY enzyme cleaner is one of my favorite projects. Instead of throwing away peels and rinds, you can ferment them with a simple sugar-and-yeast mixture to extract natural enzymes that help break down organic stains and odors. The resulting solution works well as a multi-purpose cleaner for countertops, floors, and many washable fabrics (avoid using on light-colored laundry unless you test a small area first). With a few weeks of fermentation and minimal equipment, you’ll have a homemade cleaner that reduces waste and tackles everyday messes.
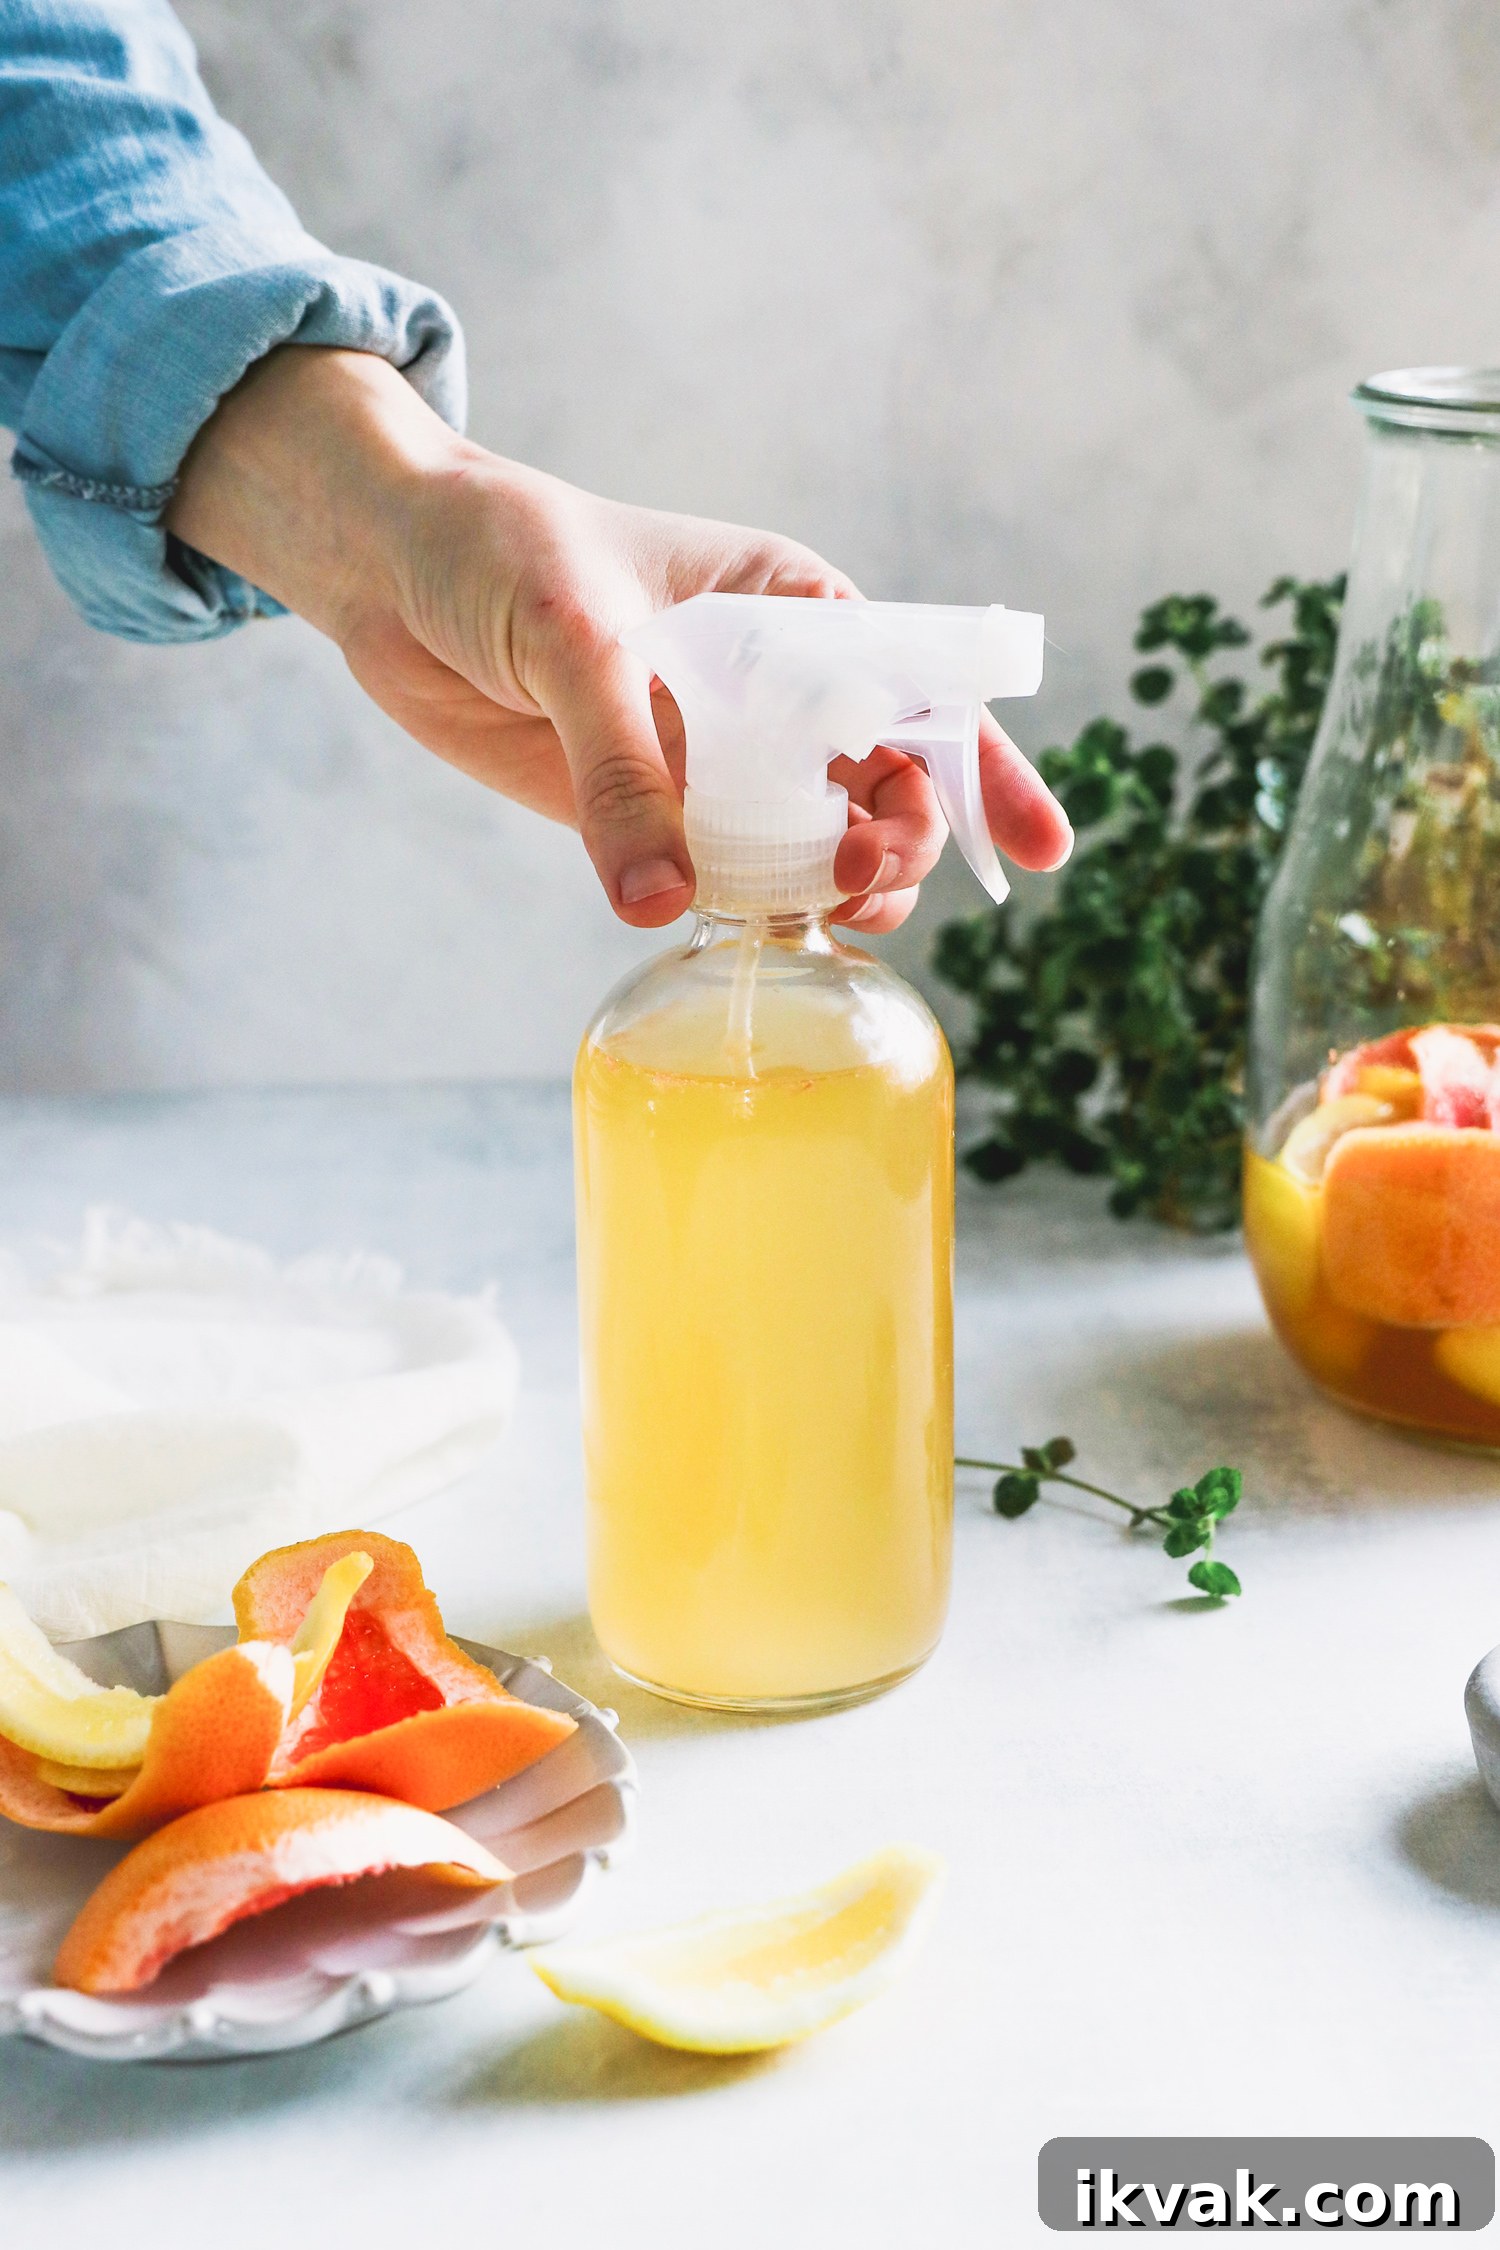
DIY Enzyme Cleaner from Kitchen Scraps
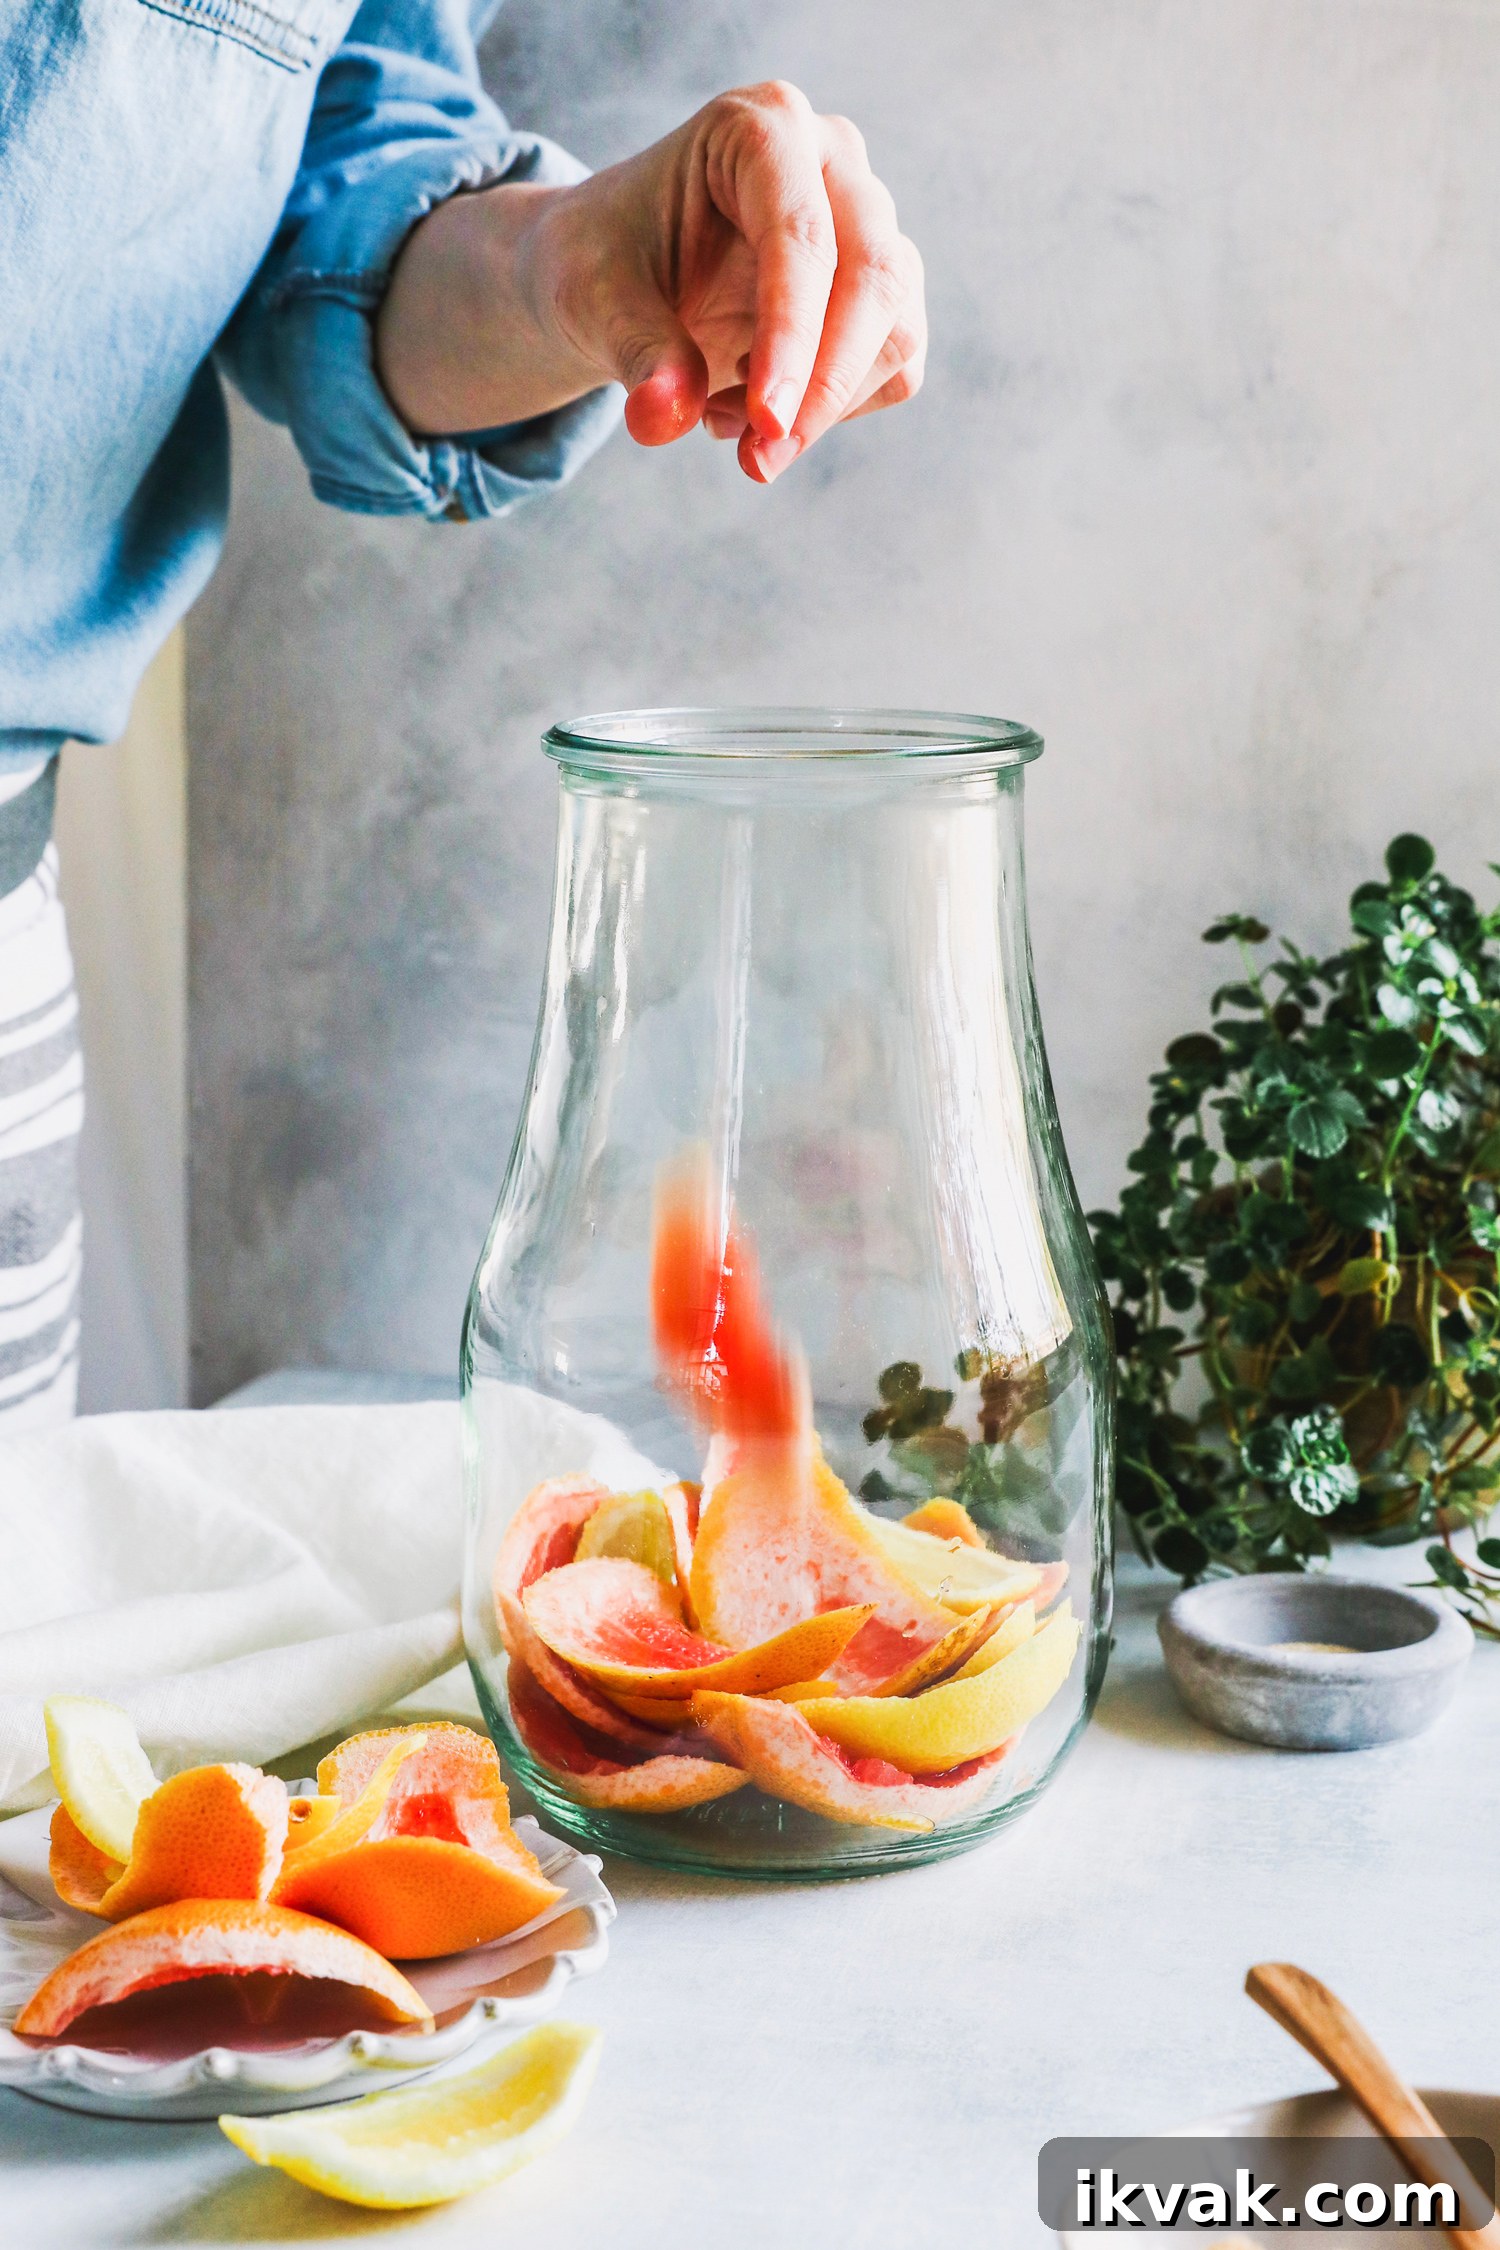
Begin by collecting suitable scraps. Citrus peels—such as orange, lemon, grapefruit or lime—are especially useful because their rinds contain enzymes and natural oils that help clean and deodorize. Pineapple and papaya skins are often recommended because they contain proteolytic enzymes, which act on protein-based stains. Apple peels and other fruit skins can also work. If you experiment with less common scraps, note the results so you can refine future batches.
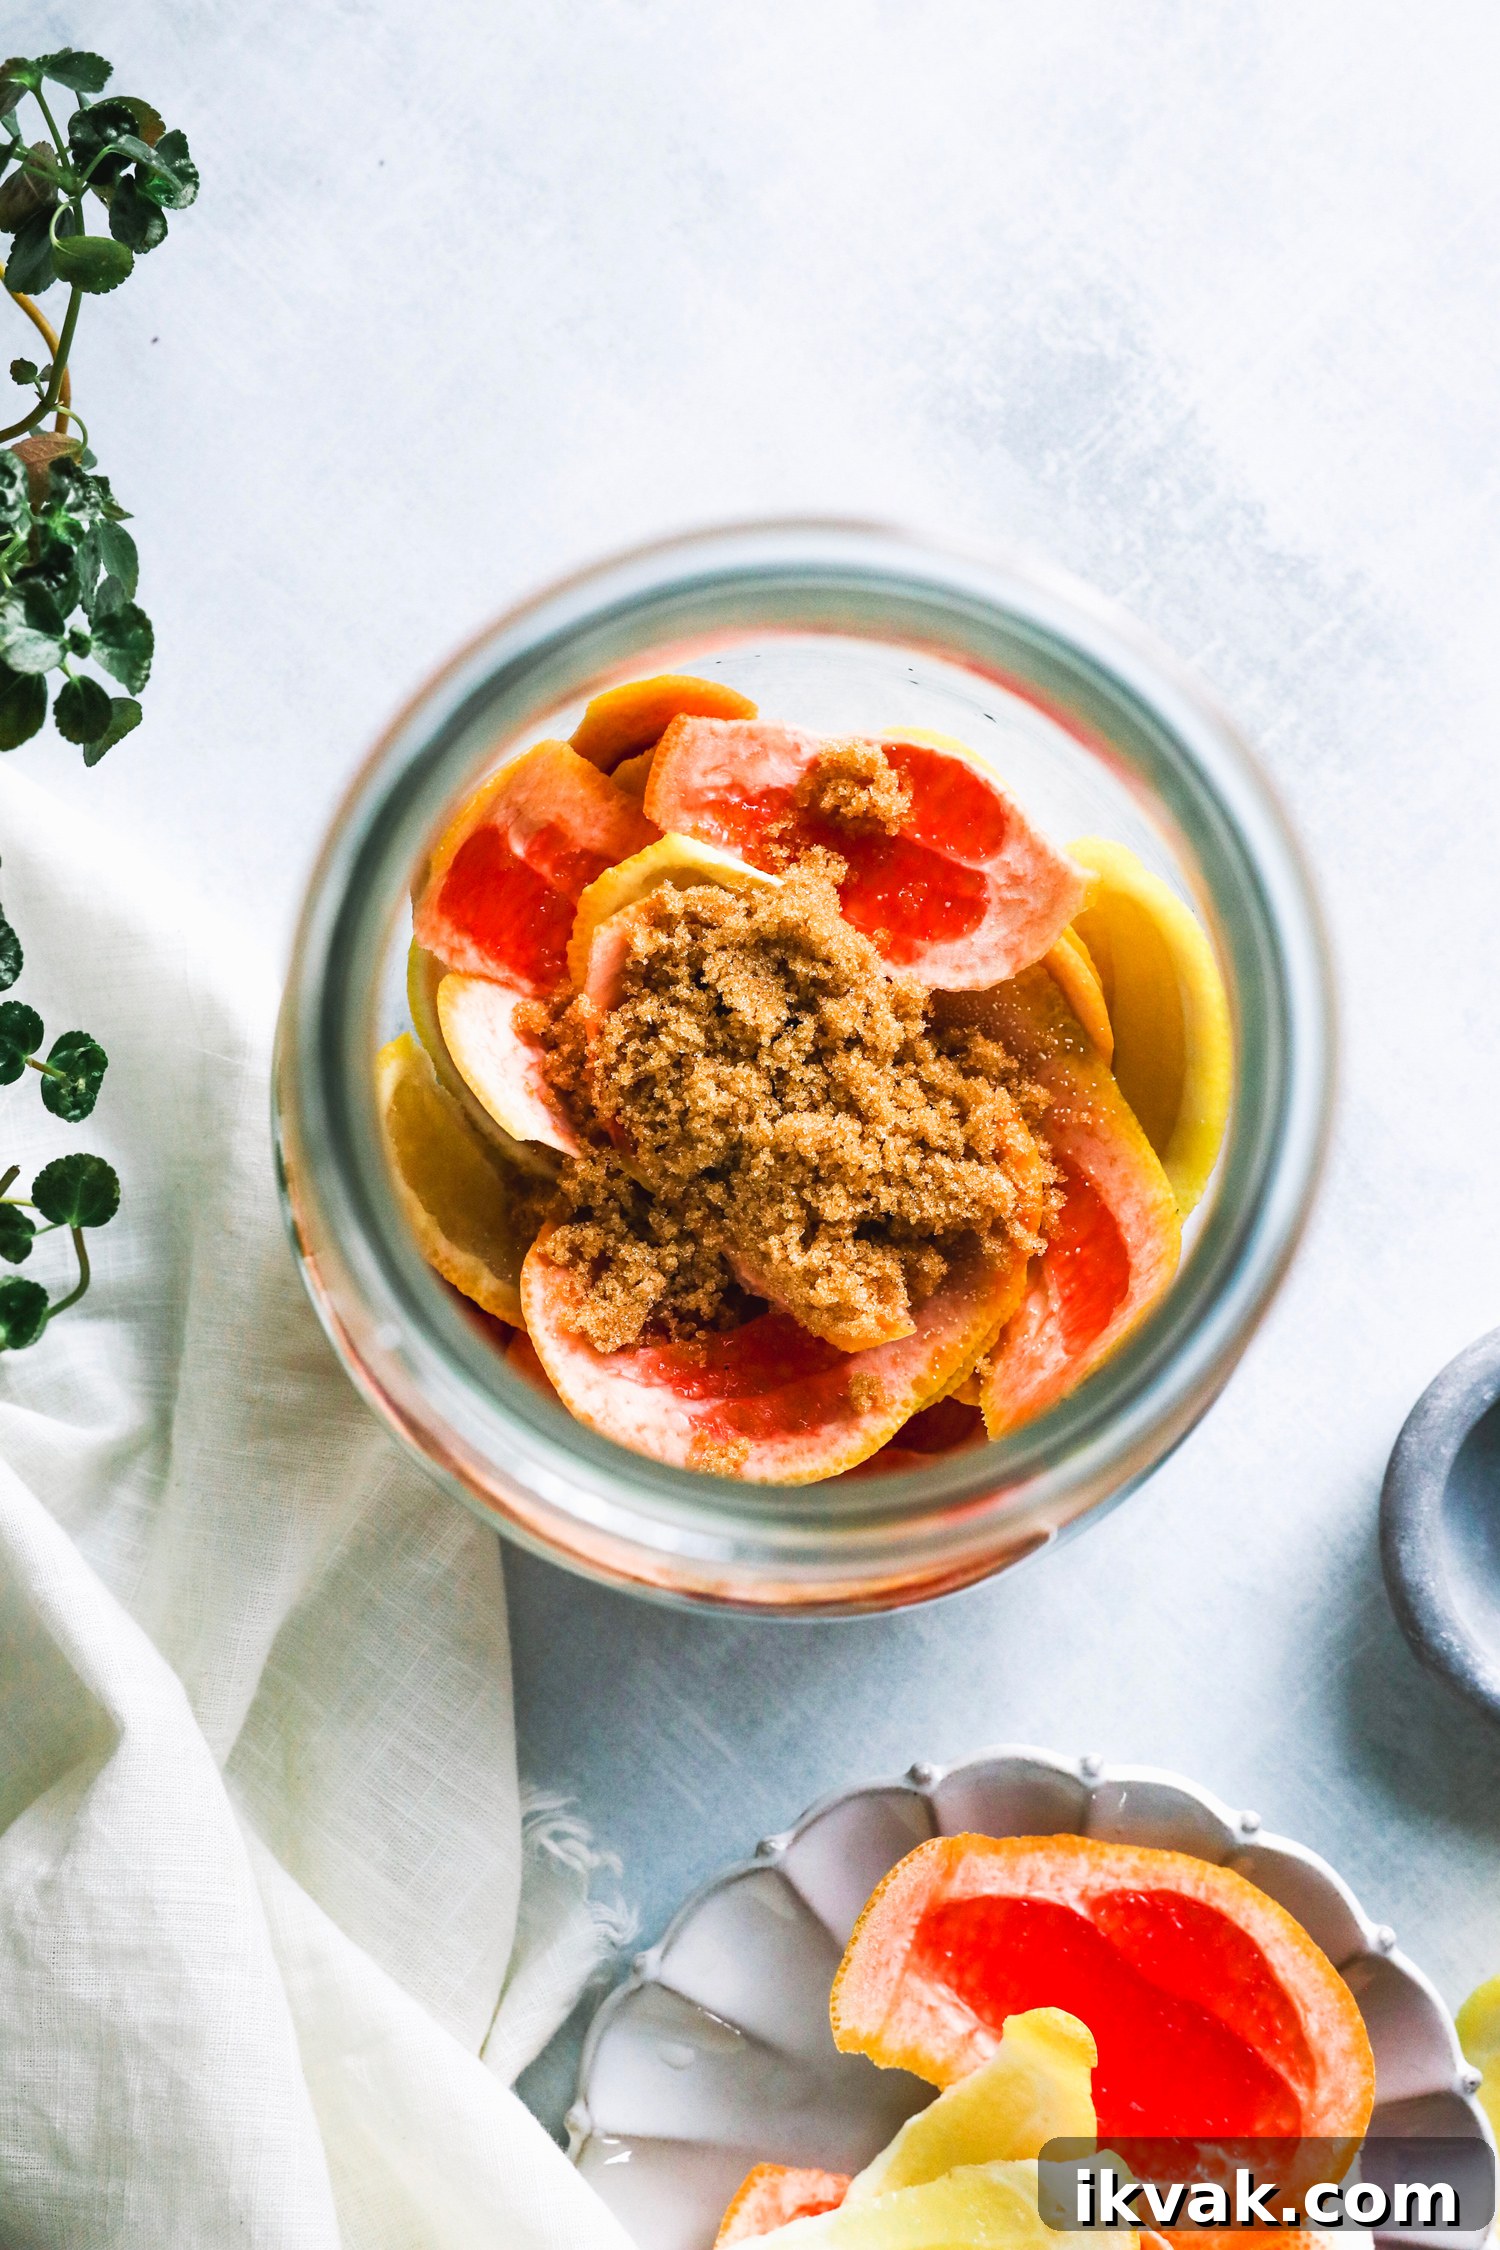
Gather about 2 to 3 cups of chopped rinds or peelings. Combine them with filtered water, brown sugar and a small amount of baker’s yeast to kick-start fermentation. The yeast helps convert sugars into alcohol and encourages microbial activity that releases enzymes from the plant material. Over time, that activity creates a liquid rich in the enzymes and organic acids useful for cleaning and breaking down stains and residues.
Ferment your mixture in a container that can withstand pressure. Glass canning jars or sturdy plastic bottles both work, but glass may require more frequent release of trapped gas. During fermentation carbon dioxide builds up, so you should “burp” the container by removing the lid briefly once or twice a day to release pressure. For a heavy-duty canning jar, once daily is usually enough; with thinner glass, burp twice daily. A plastic soda bottle can be safer for beginners because it flexes and typically needs burping every other day. Whatever you choose, make sure the lid seals well between releases.
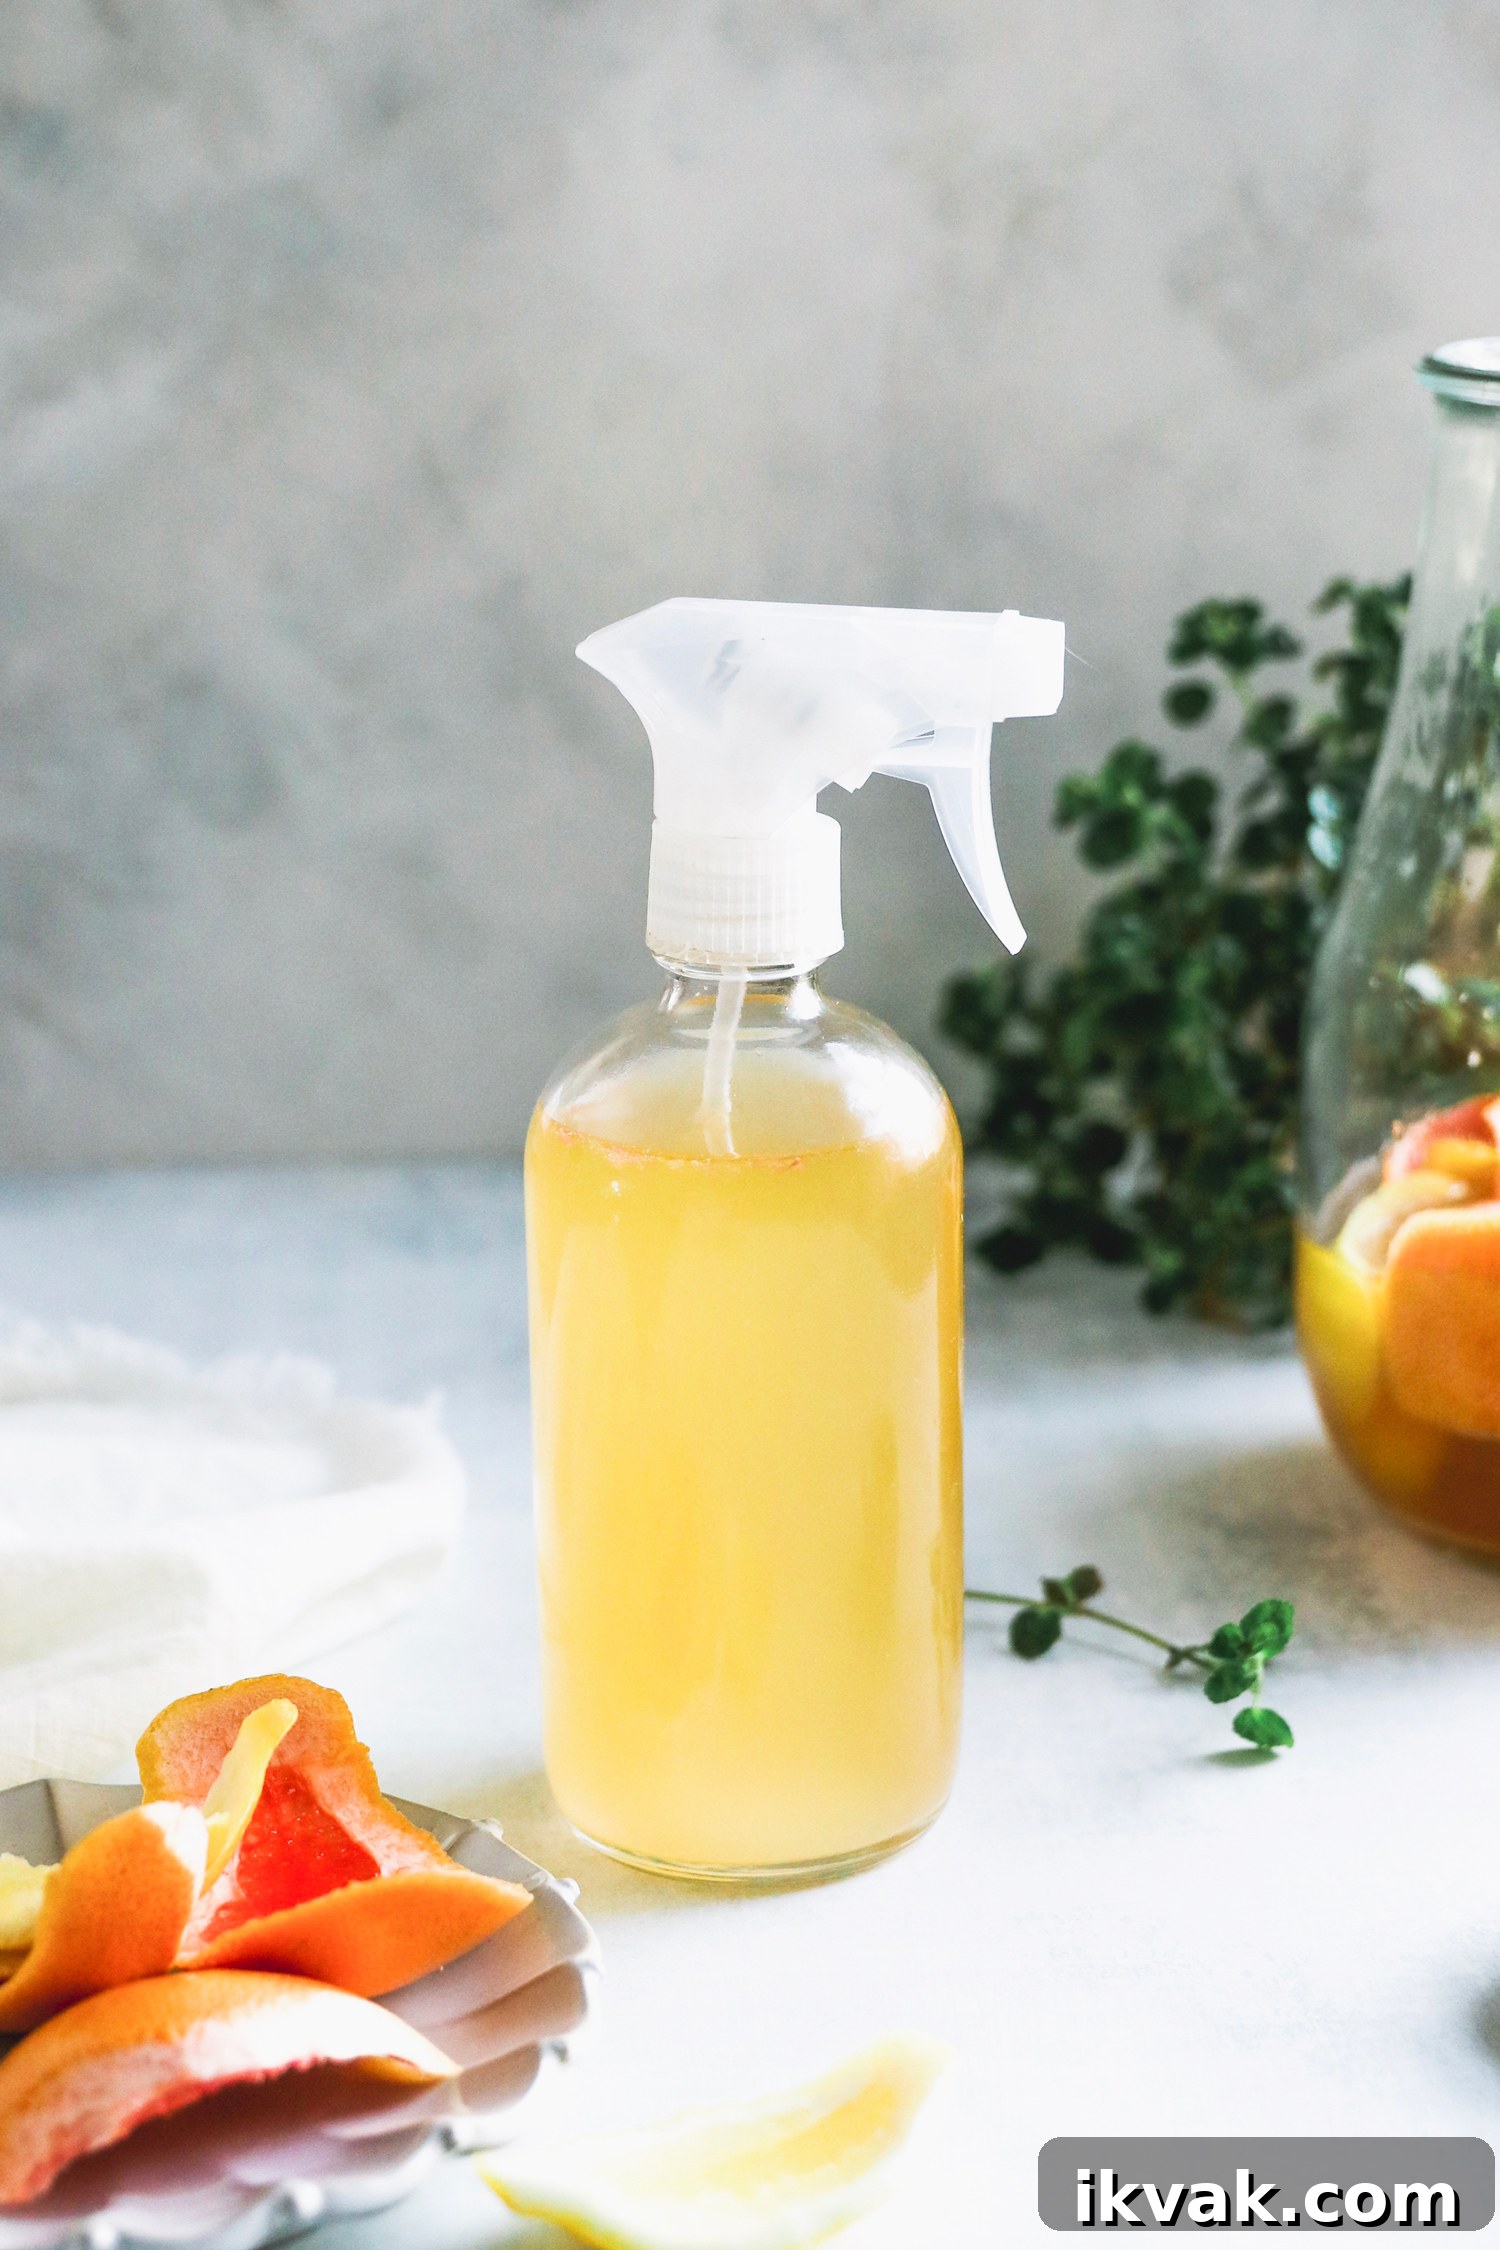
A few safety and storage notes: as the yeast consumes available sugar, fermentation slows and the culture becomes dominated by alcohol and organic acids, which reduces the risk of active bacterial growth in the finished liquid. If the batch ferments long enough, there should be little residual sugar to attract insects. Still, store your enzyme cleaner in a cool, dark place and use it within a month or two for best activity. Label the container with the date you started the fermentation so you can track how long it has matured.
Use the finished enzyme solution diluted for general cleaning or more concentrated for stubborn spots. Test any new cleaner on an inconspicuous area before applying widely—especially on delicate surfaces or fabrics—to confirm there is no discoloration or damage. For laundry, try a small test patch first and avoid using on light linens unless you are certain it won’t stain or affect colorfastness.
DIY Enzyme Cleaner from Scraps
Ingredients
- 2 cups citrus rinds or other produce scraps, chopped
- 4 cups filtered water
- 1/2 cup brown sugar
- 1 teaspoon baker’s yeast
- 1 container sturdy glass jar or plastic soda bottle for fermentation Choose a container with a tight-fitting lid and enough strength to handle pressure from fermentation.
Instructions
-
Place the chopped scraps in the bottom of your jar and add the filtered water. If using a soda bottle, puree the scraps with the water in a blender until the mixture forms a pourable slurry. Add more water if needed to make it easy to pour.
-
Stir in the brown sugar and sprinkle the baker’s yeast over the top.
-
Screw the lid on firmly and shake well to dissolve the sugar and distribute the yeast. Place the container in a warm, dark cabinet or pantry to ferment for up to four weeks.
-
Once or twice daily, shake the container and briefly unscrew the lid to release built-up gas. Regular burping prevents excess pressure and reduces the risk of the container failing.
-
After about four weeks, strain the liquid through a fine mesh or cheesecloth into a clean glass bottle for storage. Wrap the solids in the cloth and squeeze to extract any remaining liquid and enzymes.